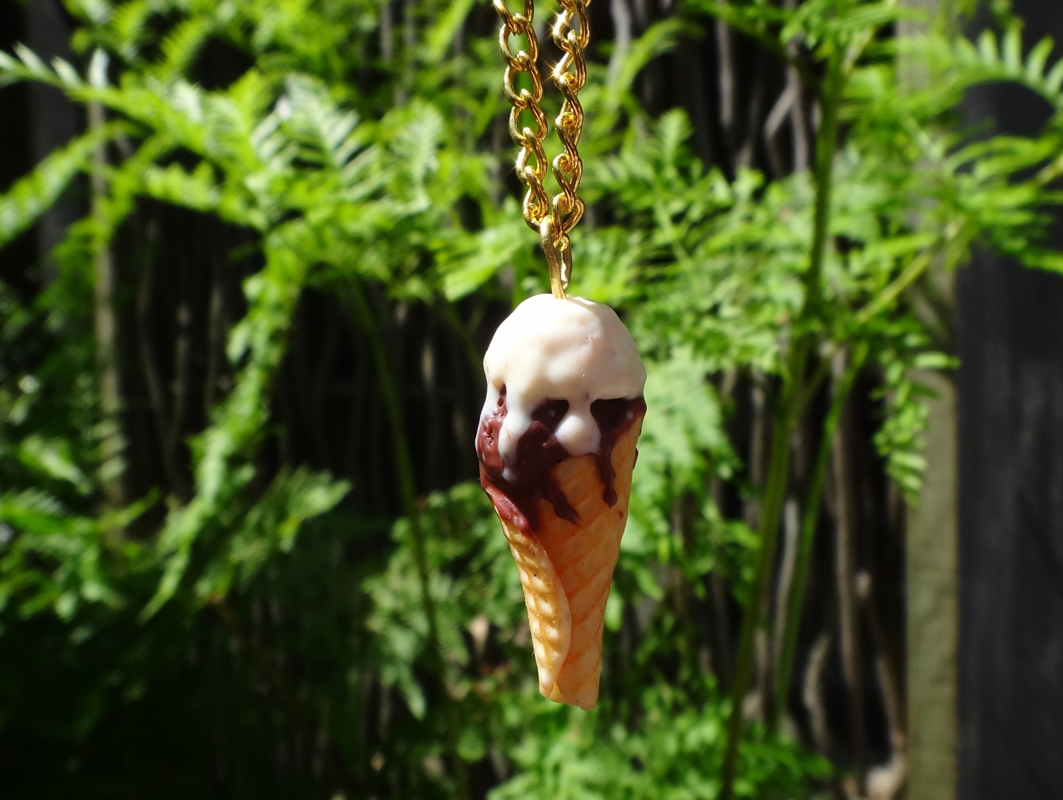
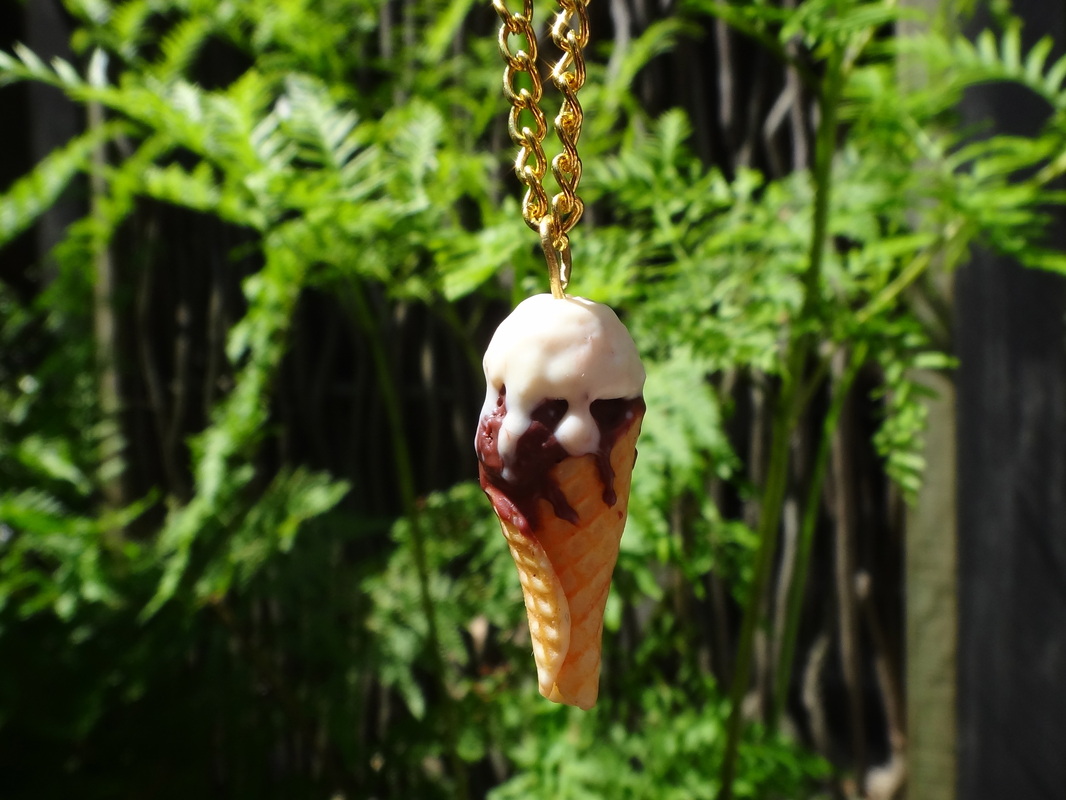
...Which means it's time for icecream!! This is a melted icecream necklace I made a couple of weeks ago but didn't have the chance to share it untill now because it broke... Bye for now!!:)
| ...Which means it's time for icecream!! This is a melted icecream necklace I made a couple of weeks ago but didn't have the chance to share it untill now because it broke... Bye for now!!:) You might also like...
0 Comments
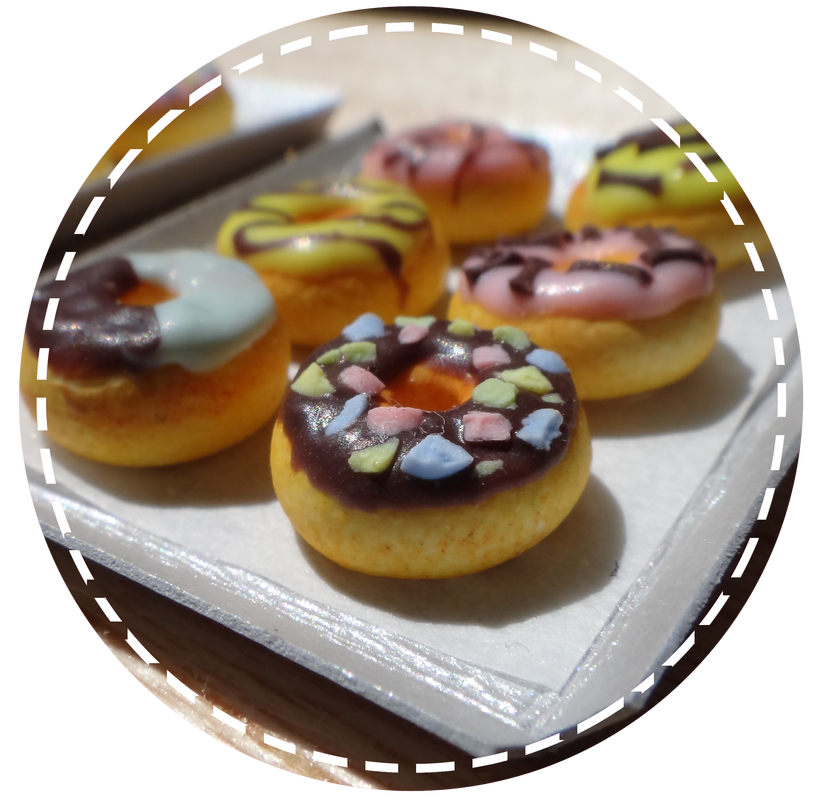
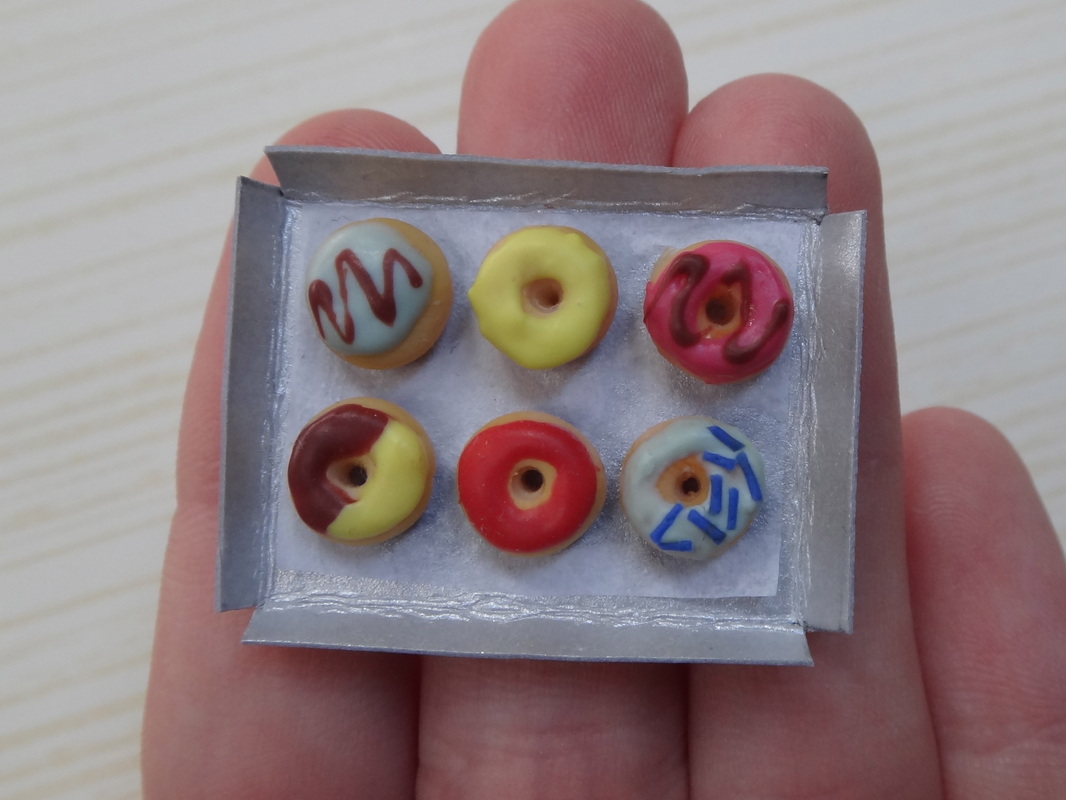
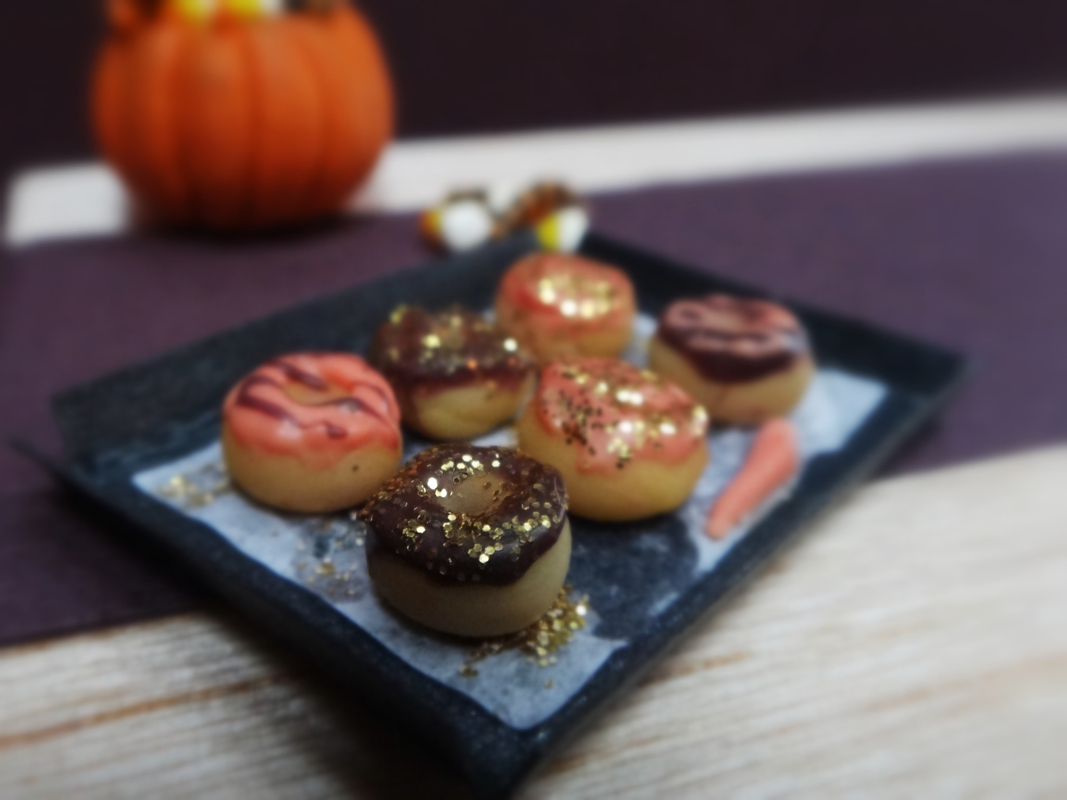
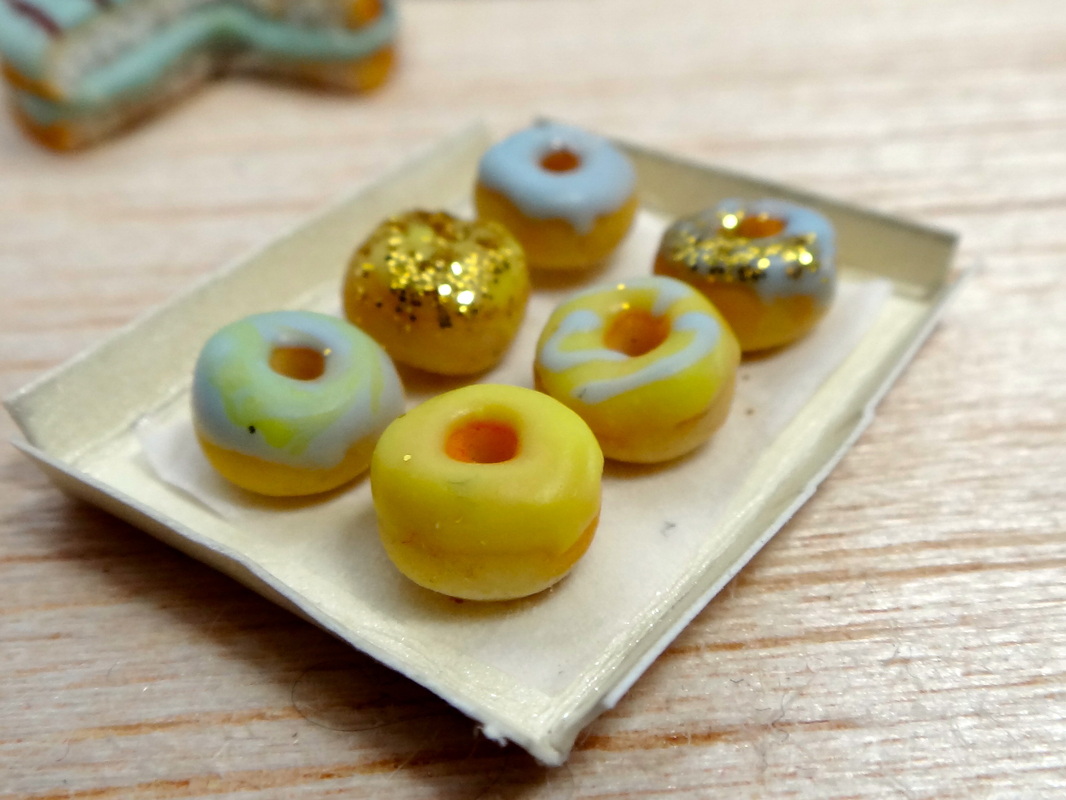
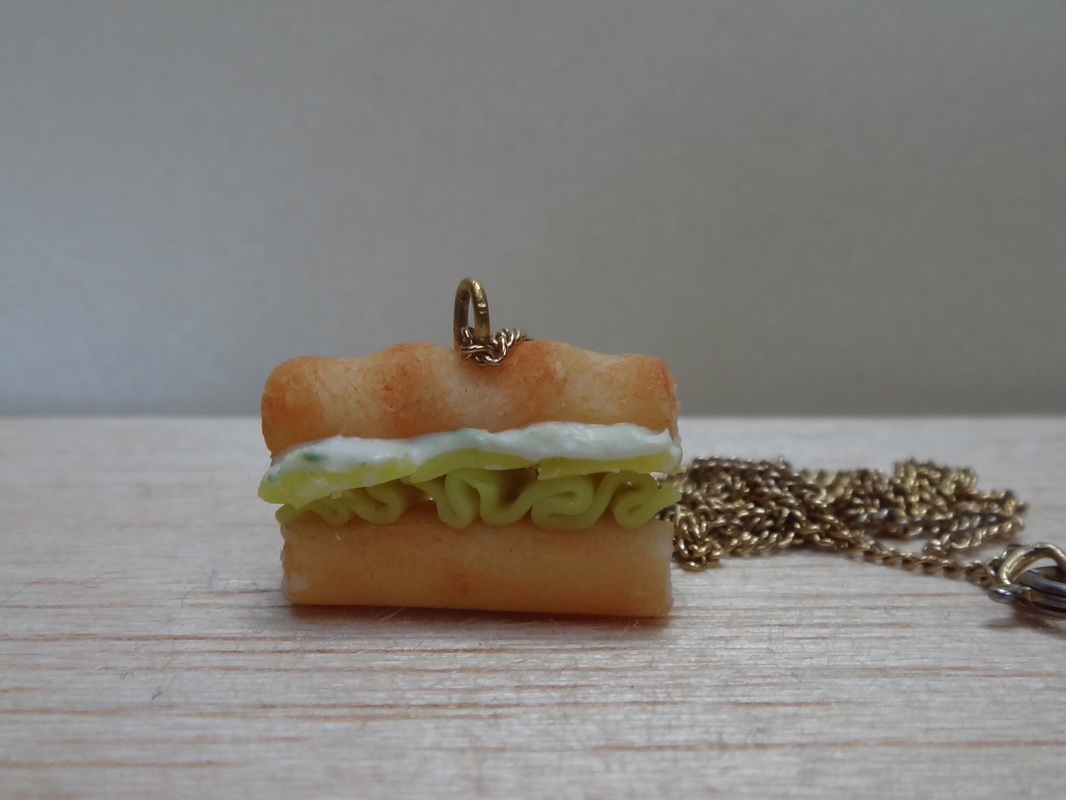
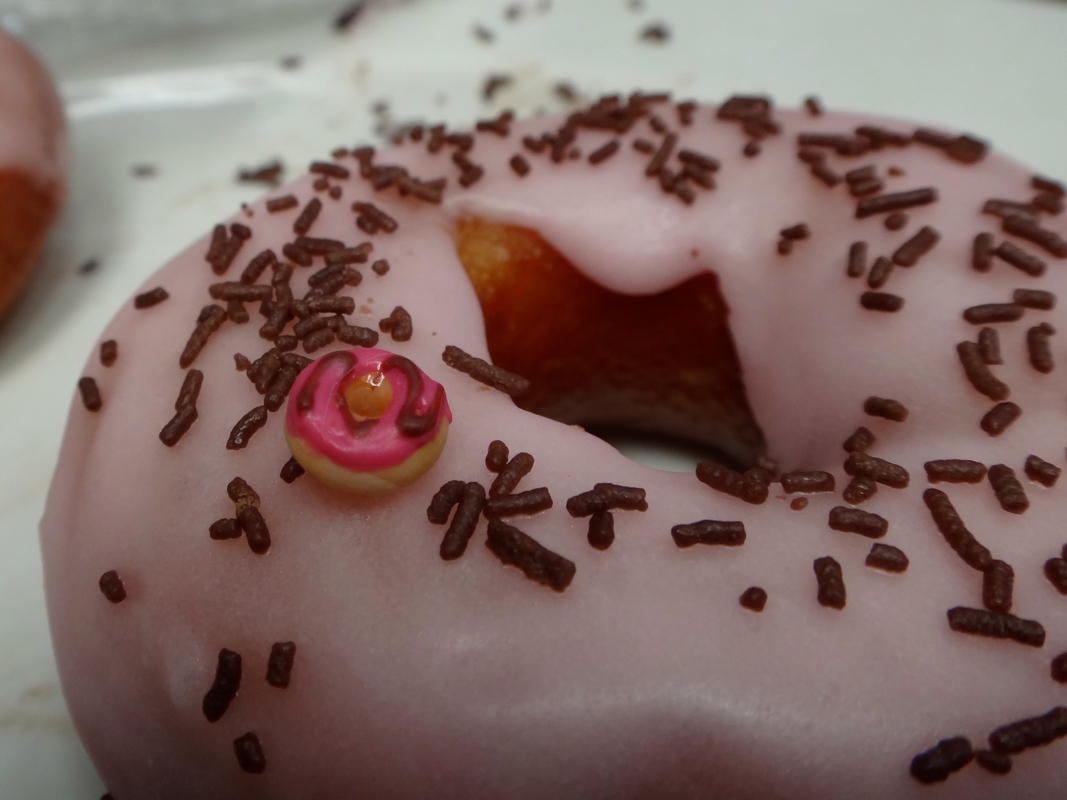 Hi! So recently I've been making trays for the 32 tiny donuts I made a while back. I think they look so much cuter now they're on trays!! And... as you can see I've also (helped) make some real donuts. Yum! :) Bye, and enjoy the photos! :D 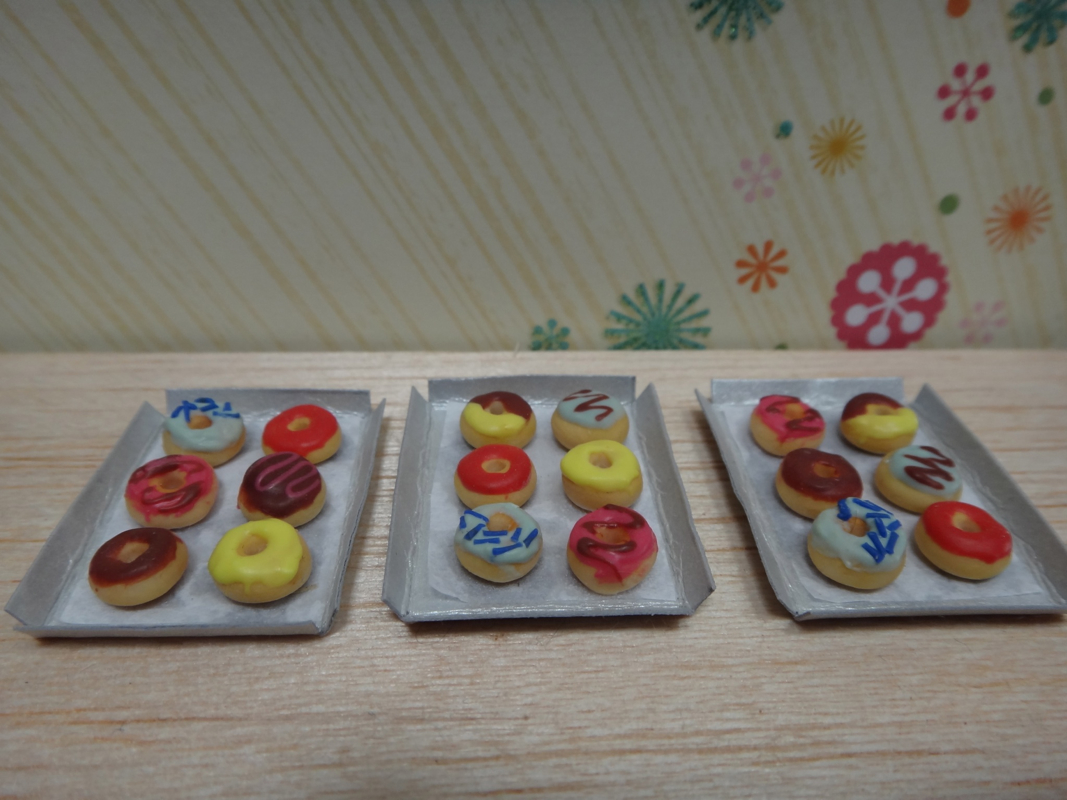  You might also like...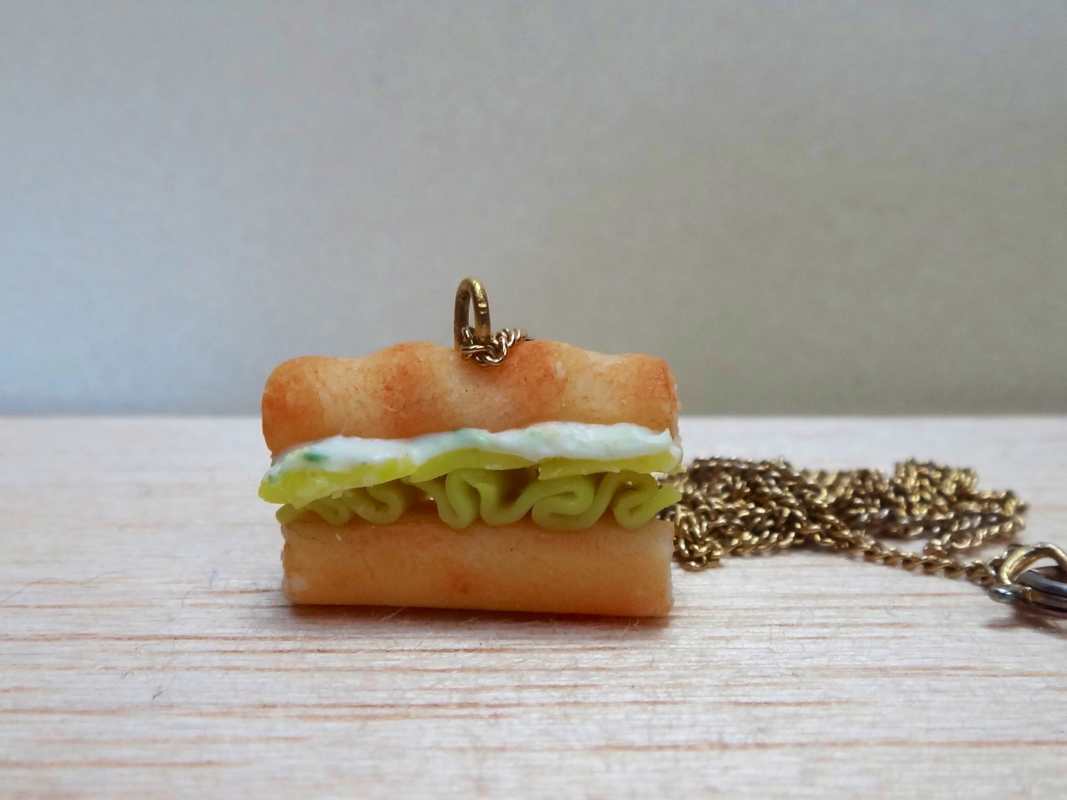 ...to match the sandwich earrings!! Isn't it cute?:) Soon I'm going to start making Christmas stuff so stay tuned!! Bye for now! :) You might also like...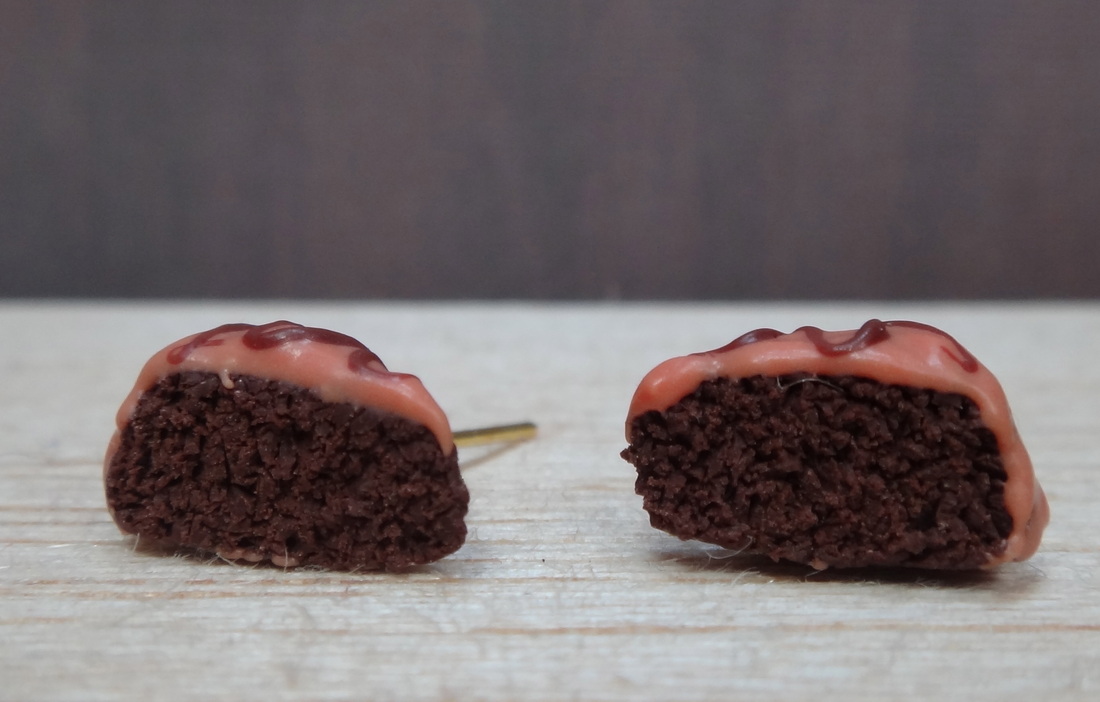 Cakes are my favorite mini food to make which explains why I have so many of them! These are just a few of my cakes that I've created recently. My favorite one is probably the vanilla one with blue icing simply because it's different from the cakes I usually make! Speaking of mini cakes, I still haven't found that Halloween cake and I don't think it's going to turn up in time for Halloween:( I think I might make some spooky donuts and trick or treat candy to make up for it, but for now, enjoy the photos!! :) 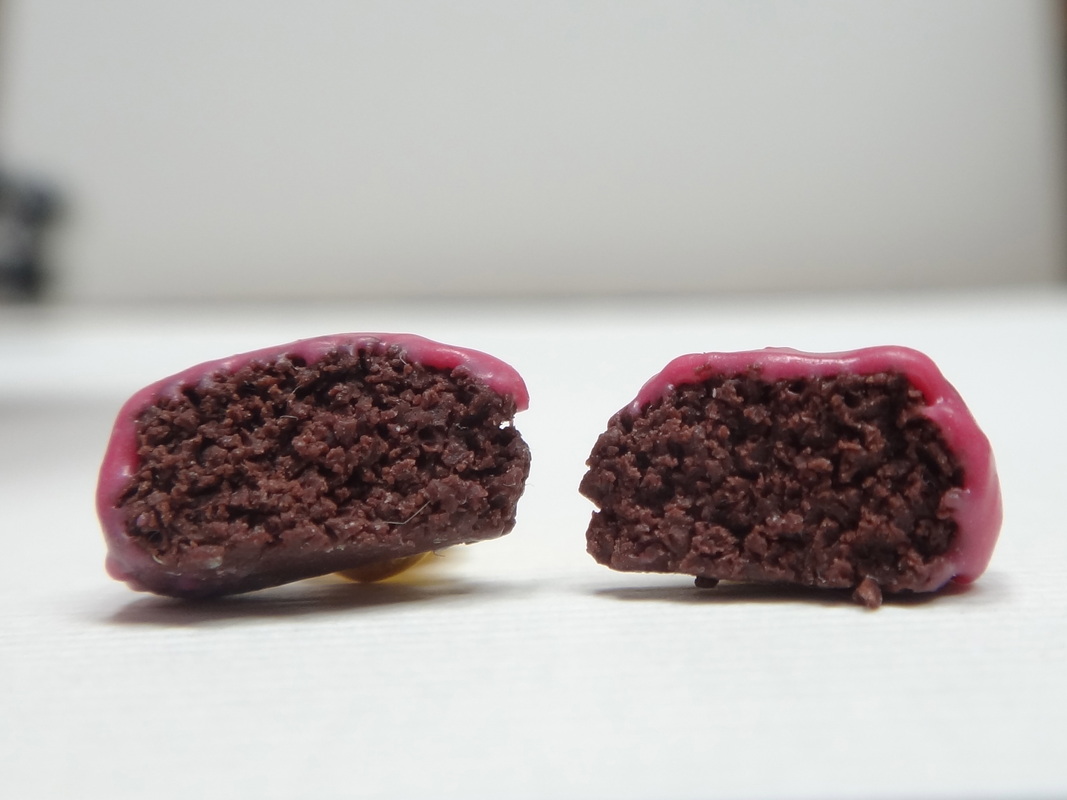 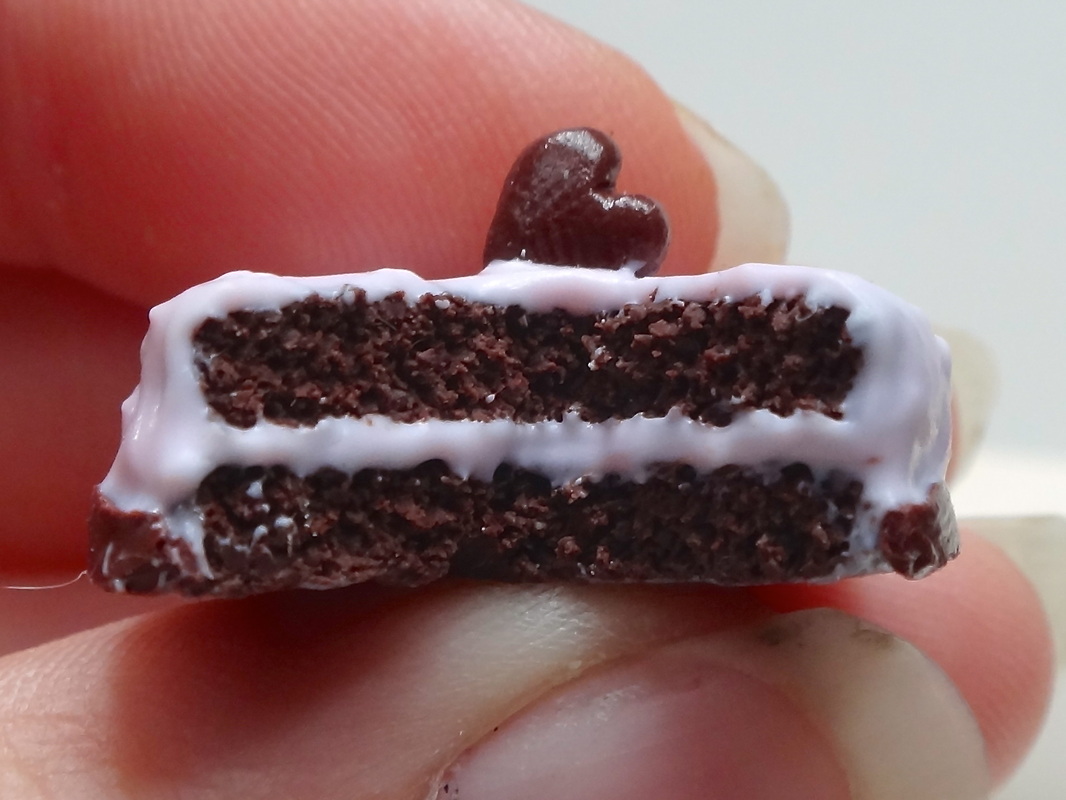 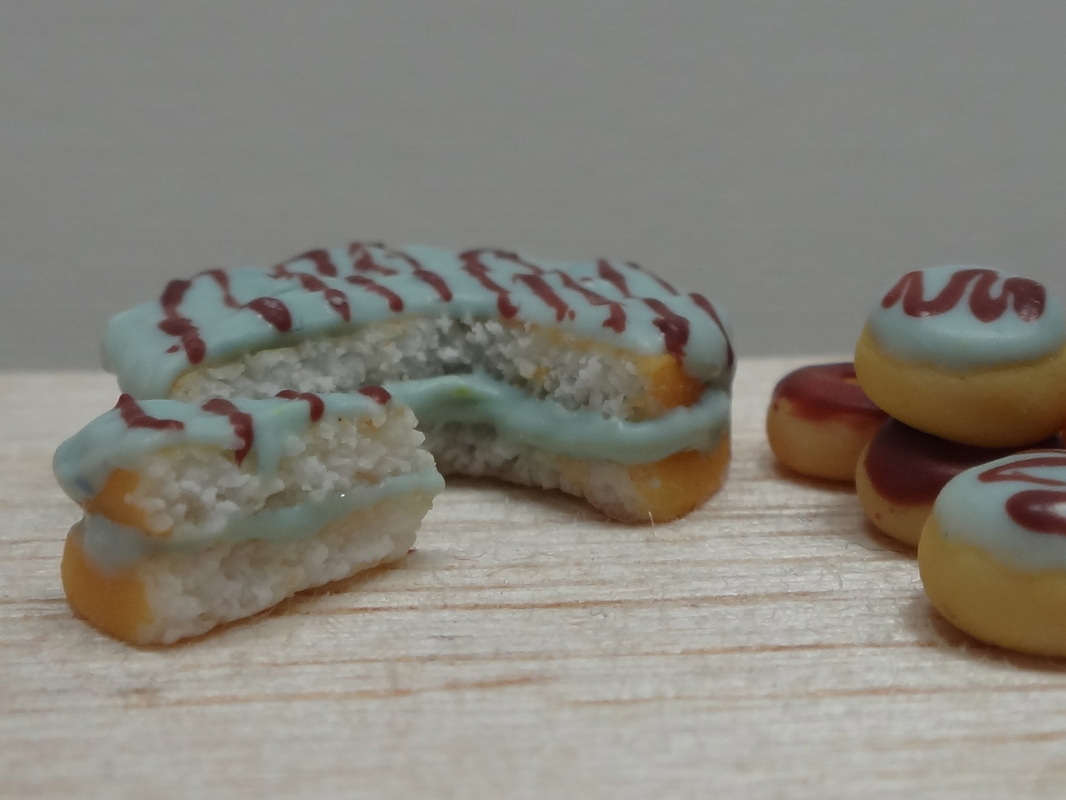 You might also like... Hi guys! So in the third and final Sumner Donut Tutorial I'm going to show you how to make the little trays to display your donuts on:) Enjoy! What you'll need:
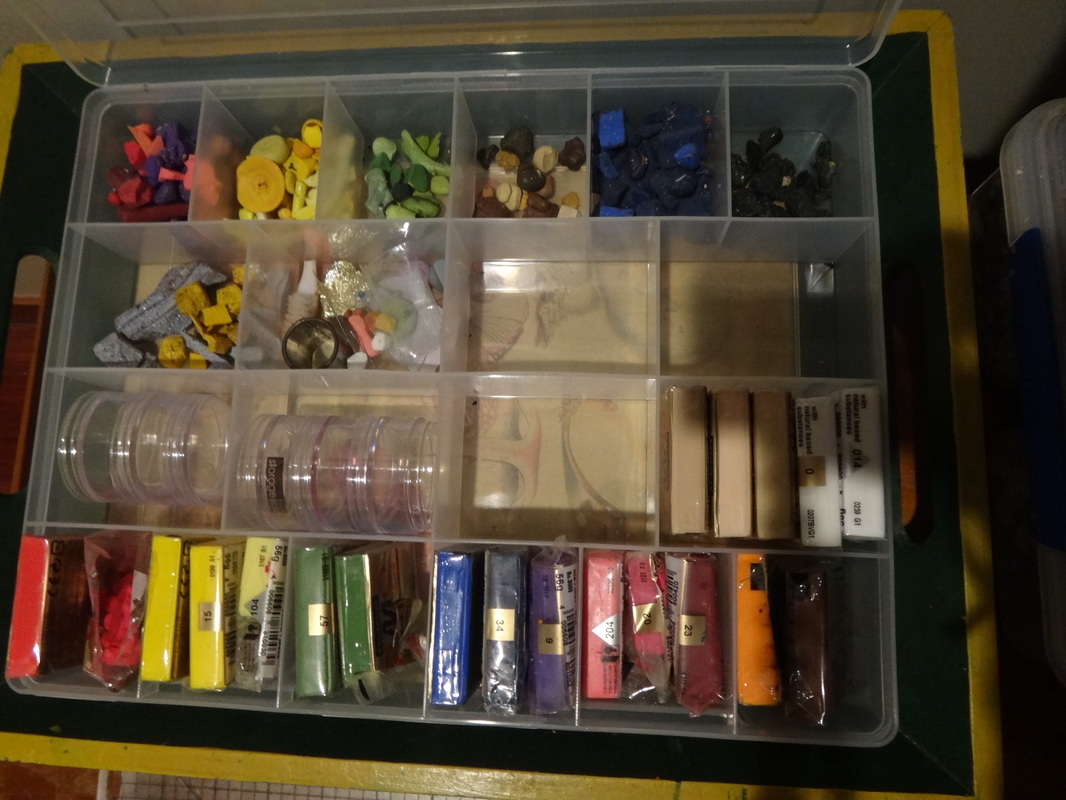
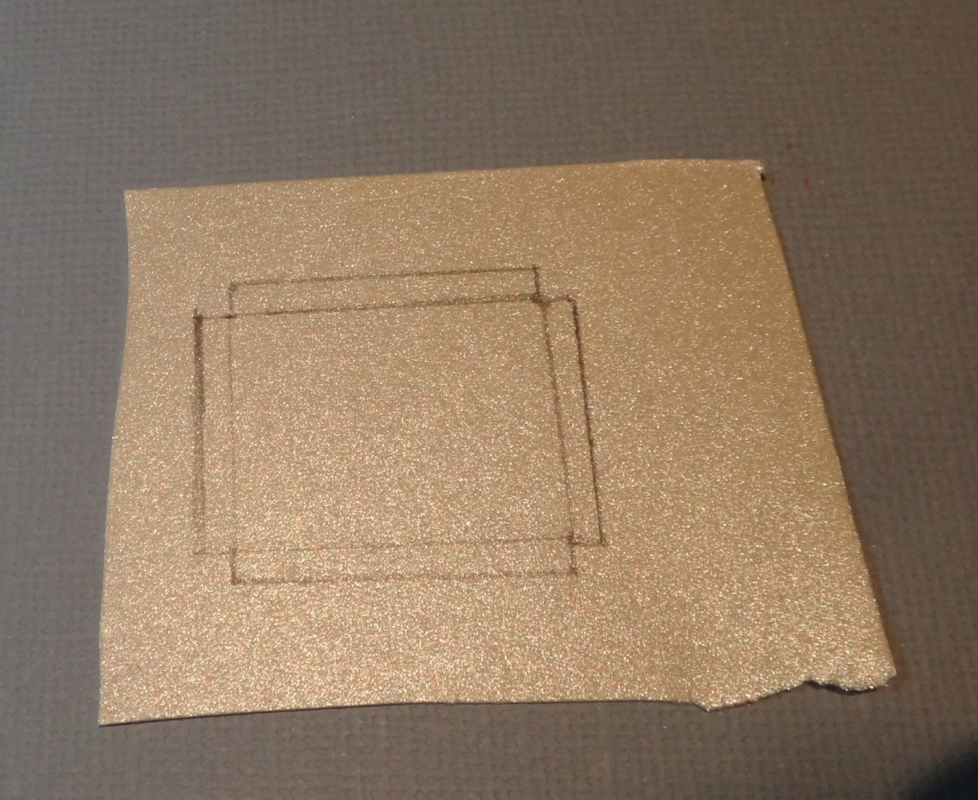 Step 1: Rule a box 2.9cm long and 2.3cm wide. Rule little boxes 5mm high on each side of the large box as shown in the picture. 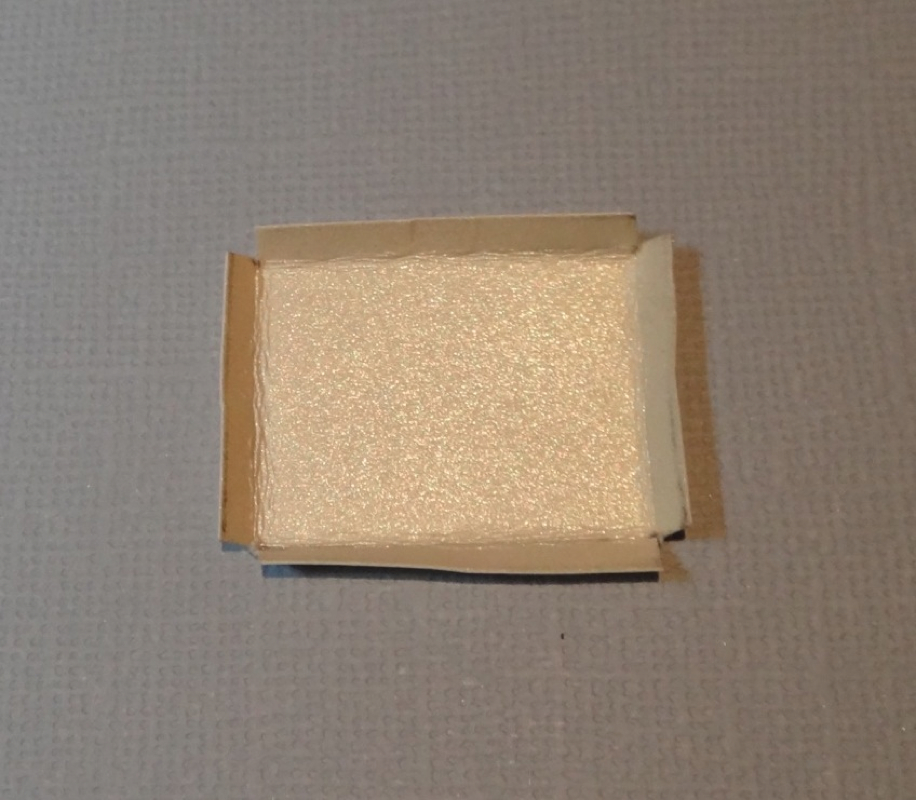 Step 2: Erase the pencil lines until the are only faint and cut out the shape. Fold along the lines as shown in the picture. 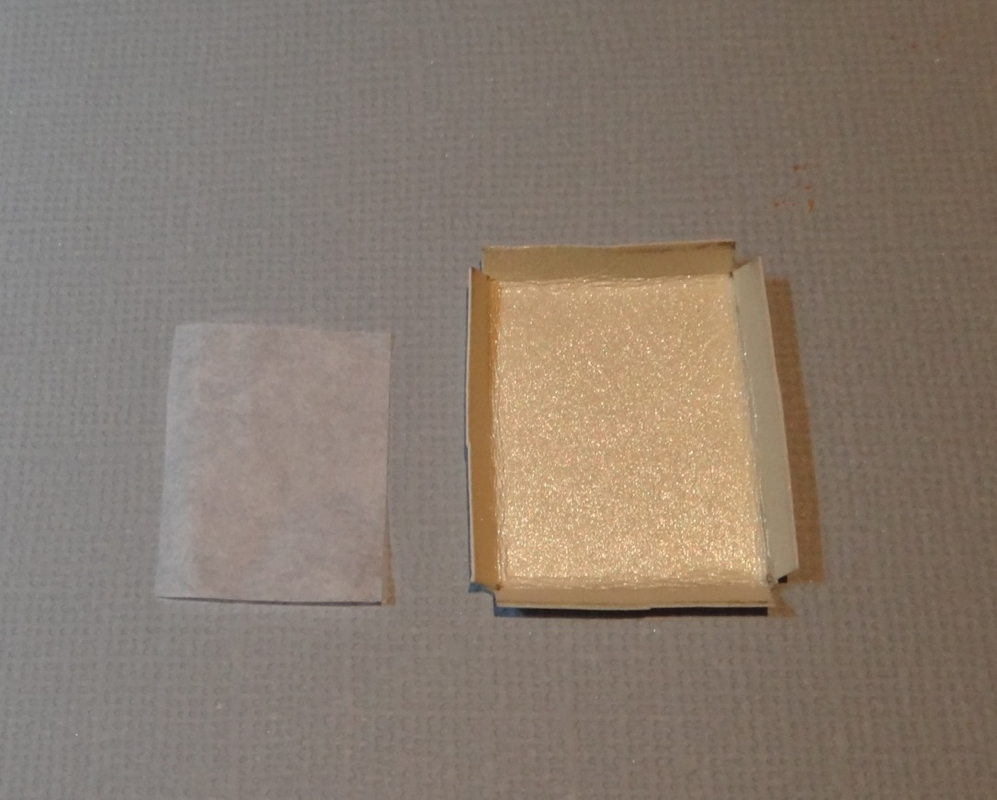 Step 3: Cut out a piece if tissue paper that is 2.6cm high and 2.1cm wide. 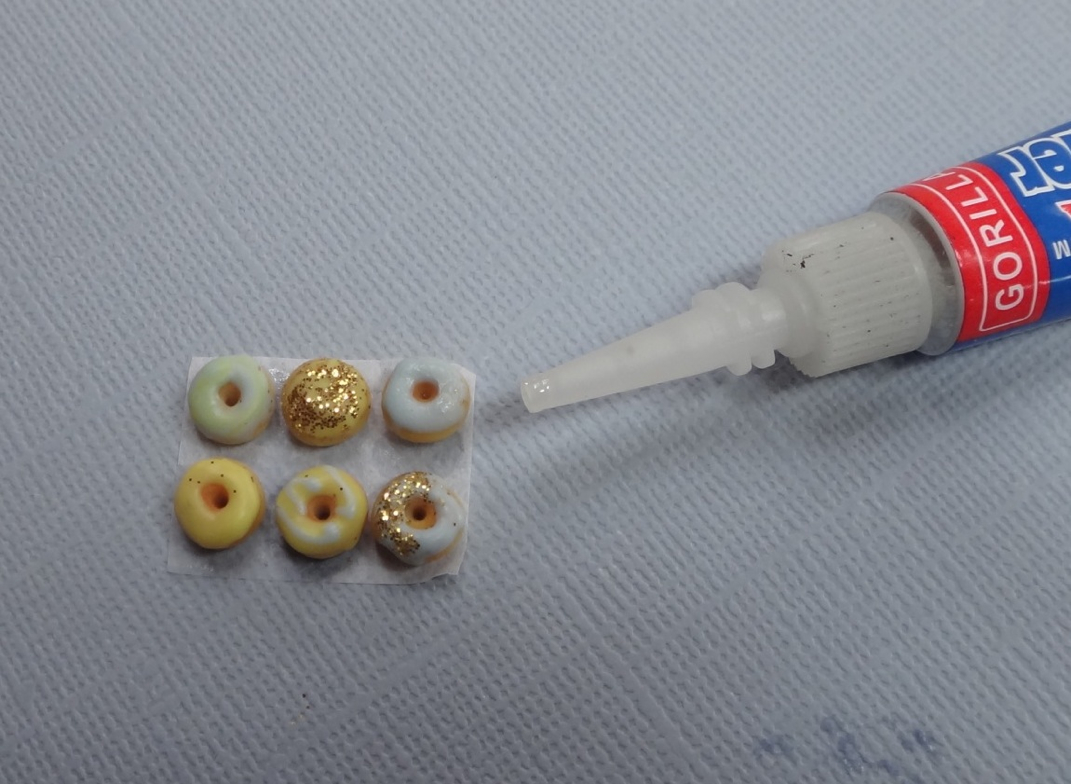 Step 4: Glue the donuts to the tissue paper and glue the tissue paper to the tray. (I didn't photograph that last bit because I was too focused trying not to stick my fingers together with the super glue!!) So that's the end if the Summer Donut Tutorials! I hope you enjoyed reading them and now feel inspired to create your own batch if mini donuts:) Bye for now!!  Hi again! So here's the second part of the tutorial:) 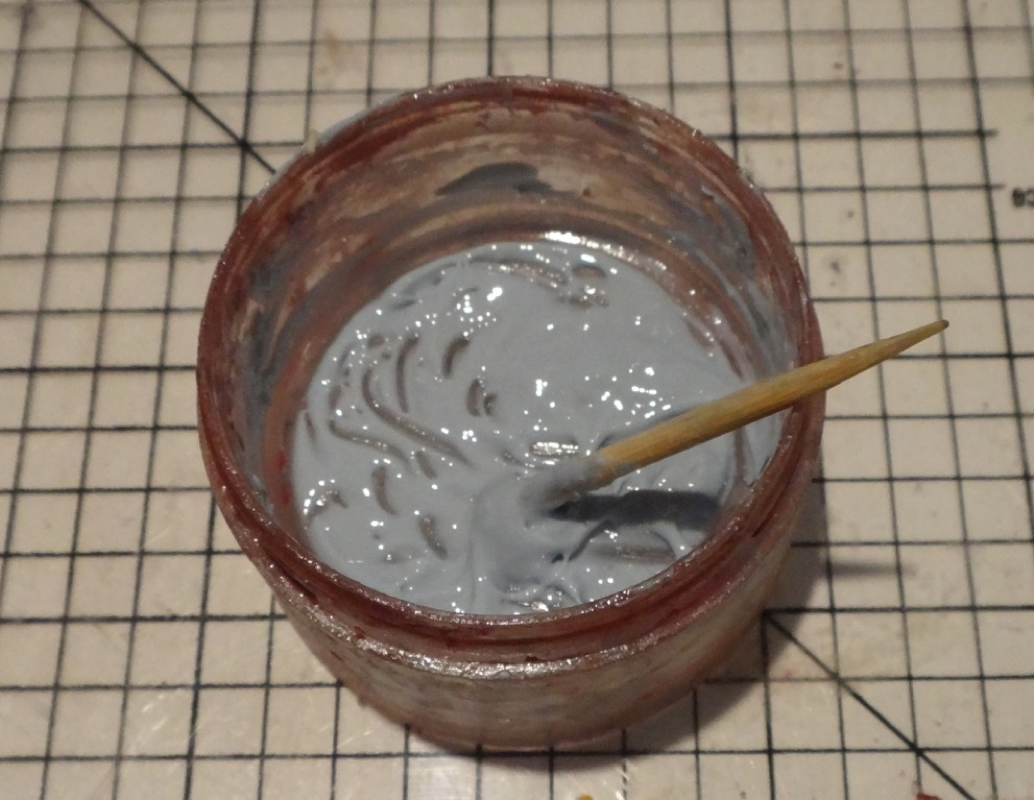 Step 6: Mix together the liquid Fimo icing. If you don't know how to do this see: How To Make Liquid Fimo 'Icing'  Step 7: Ice a little ring around the donut with a toothpick. 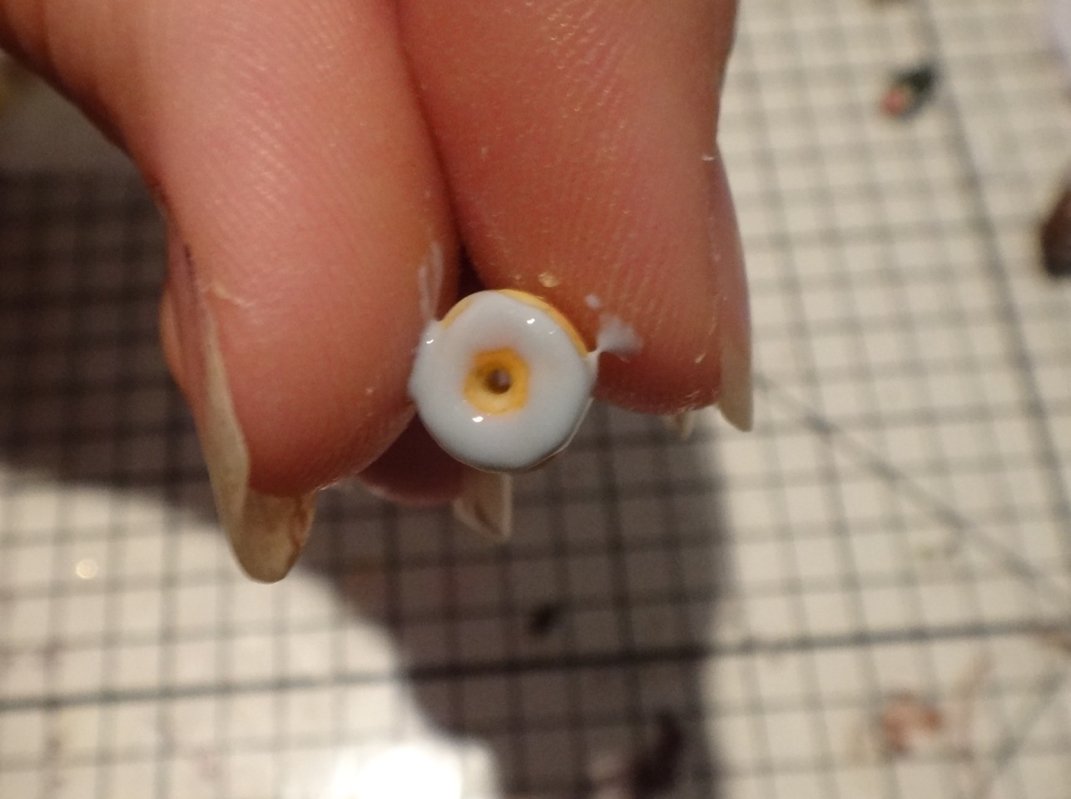 Step 8: Wipe any excess icing off the toothpick and gently smooth out the icing on the donut. 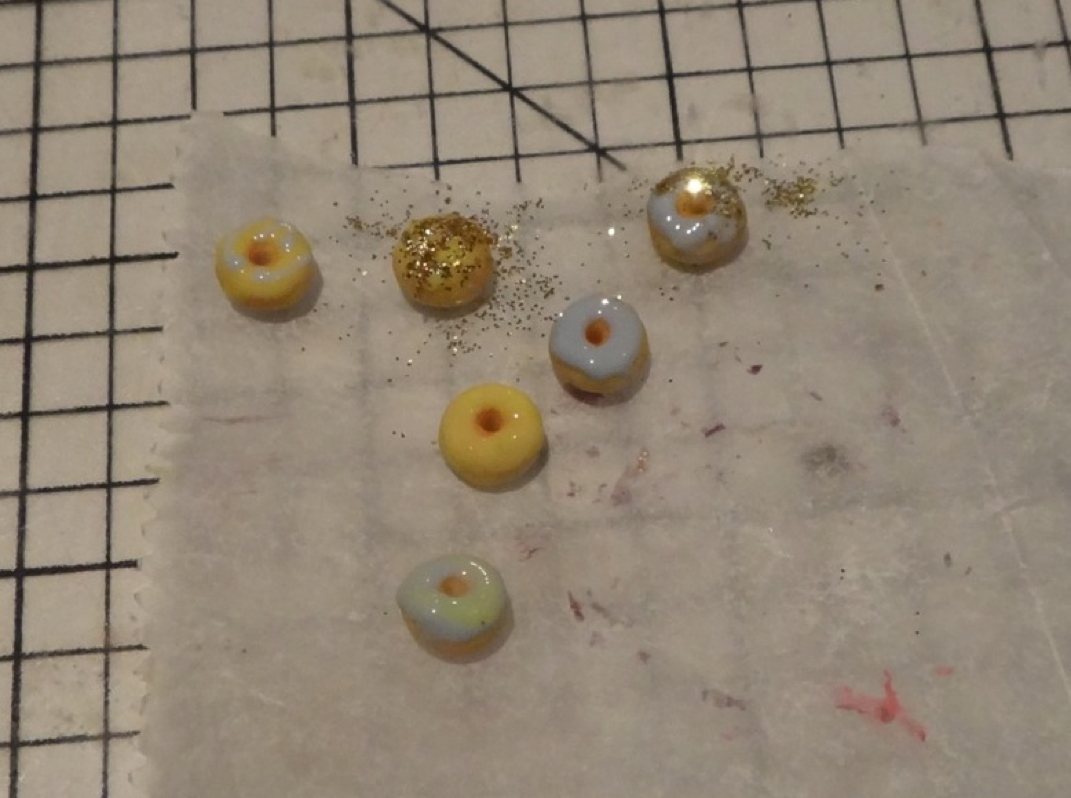 Step 9: Put the donuts on a piece of baking paper and decorate to your hearts content. Bake the donuts at 110 degrees Celsius for 25 minutes. Congratulations! You have created your very own batch of mini donuts! But your not finished yet. I'll be posting part 3 on how to make the mini trays shortly:) Bye for now! 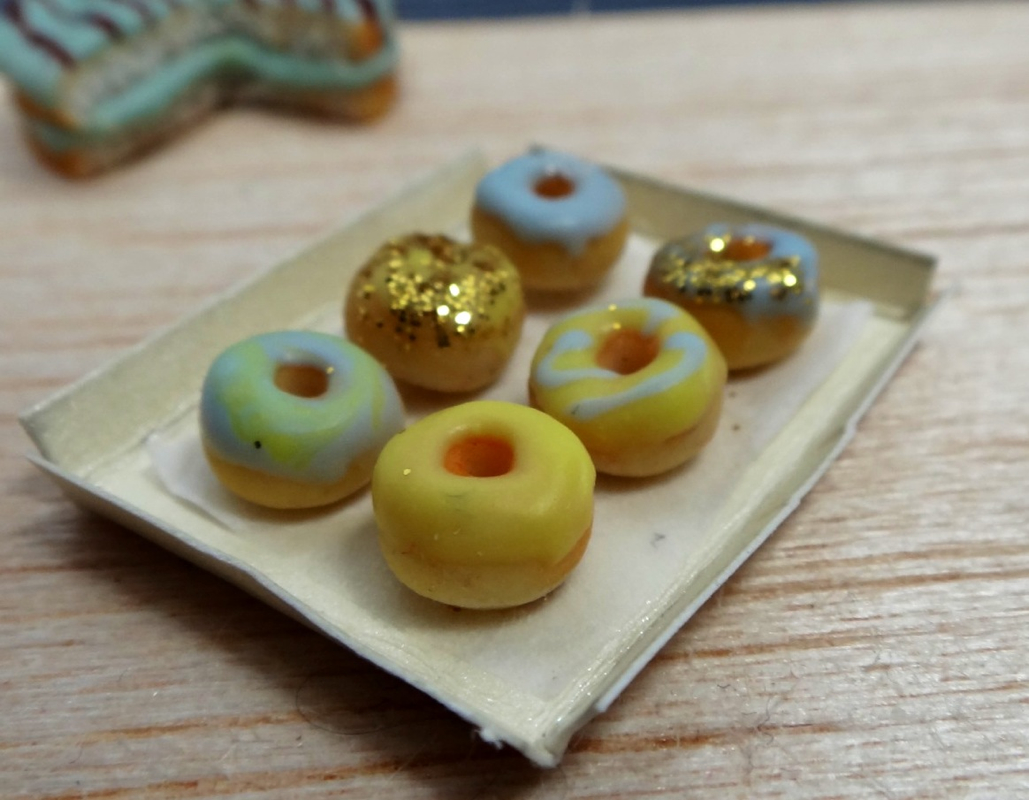 Hi! So I've finally created a tutorial it's on how to make miniature donuts! I hope you enjoy! Summer Donut Tutorial: What you'll need:
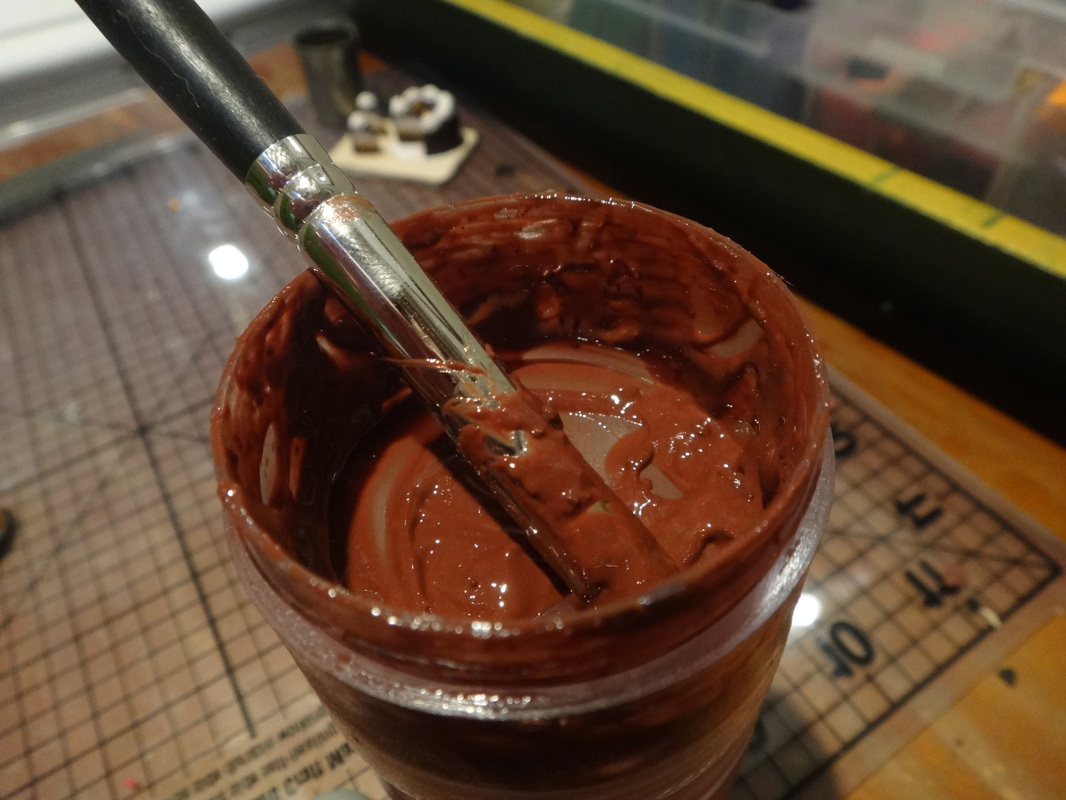
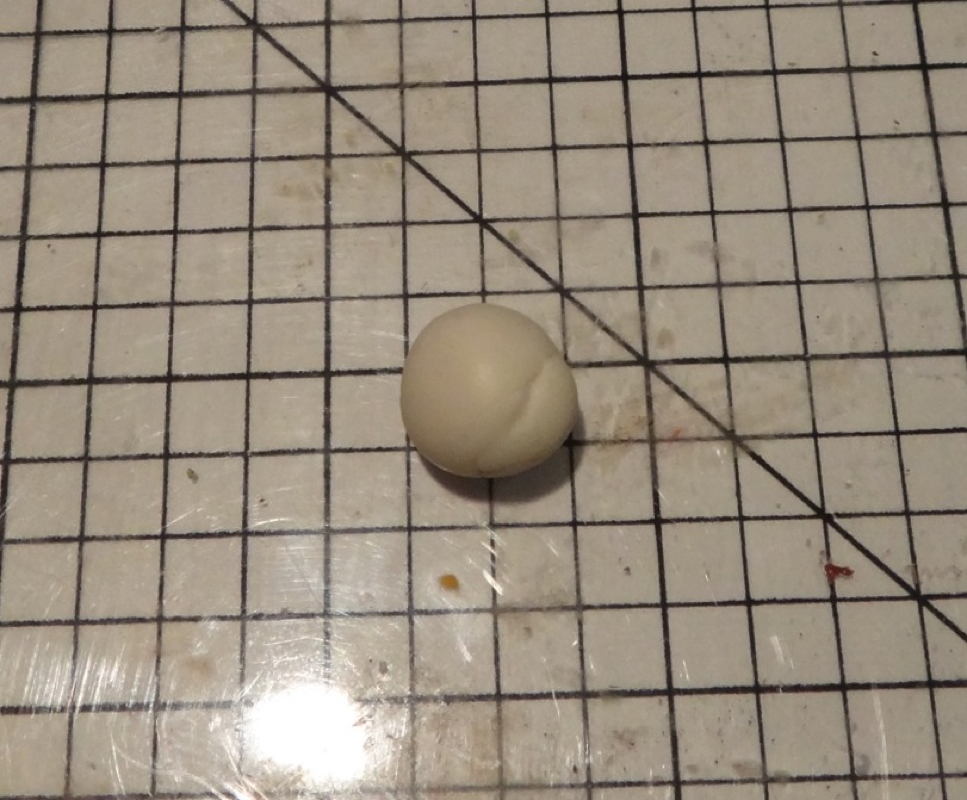 Step 1: Mix together the translucent white Fimo with a small piece of champagne Fimo. 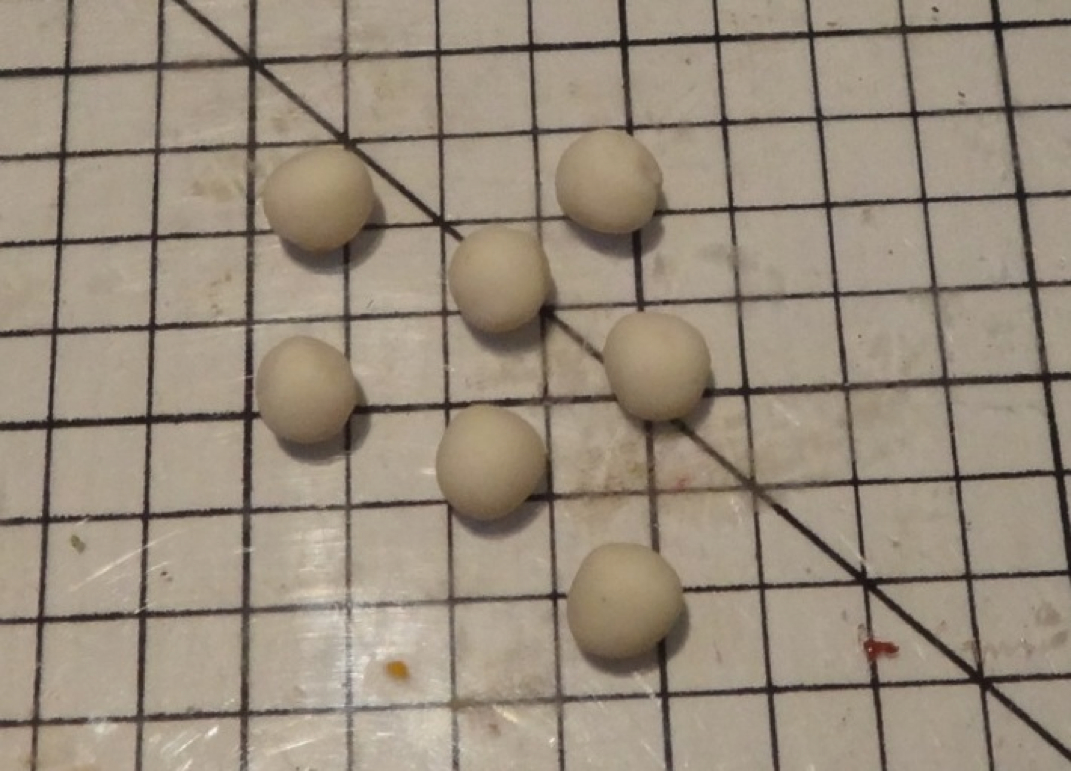 Step 2: Break the Fimo up and roll it into small balls around 6mm round. 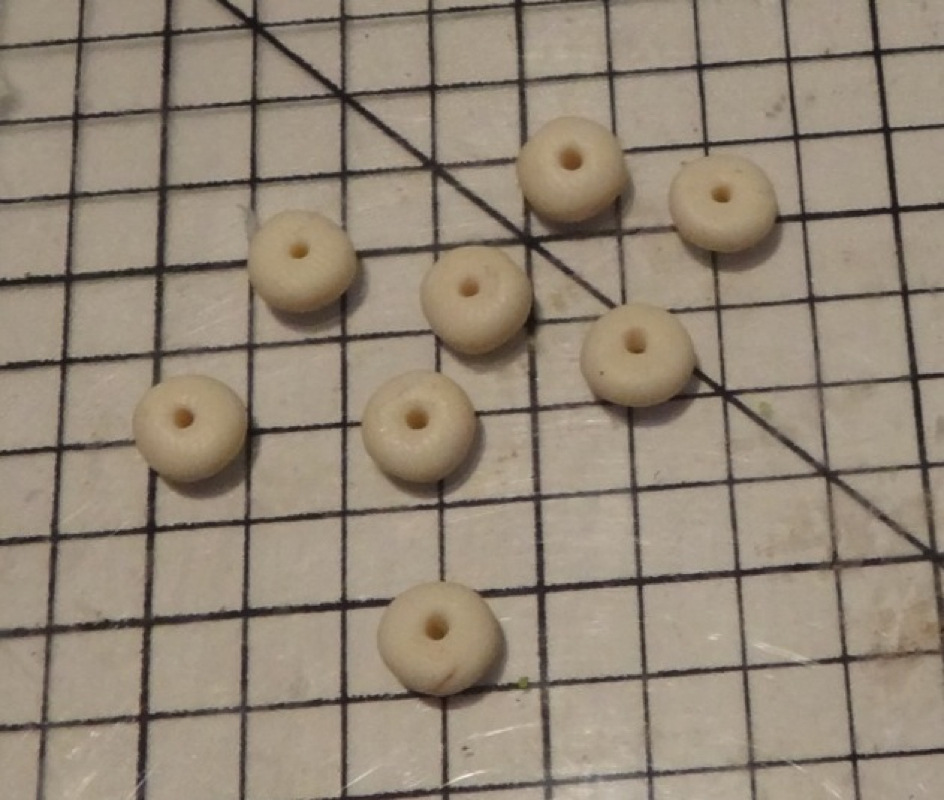 Step 3: Lightly press on the balls of Fimo so they squish. Poke a toothpick all the way through the middle of each one. 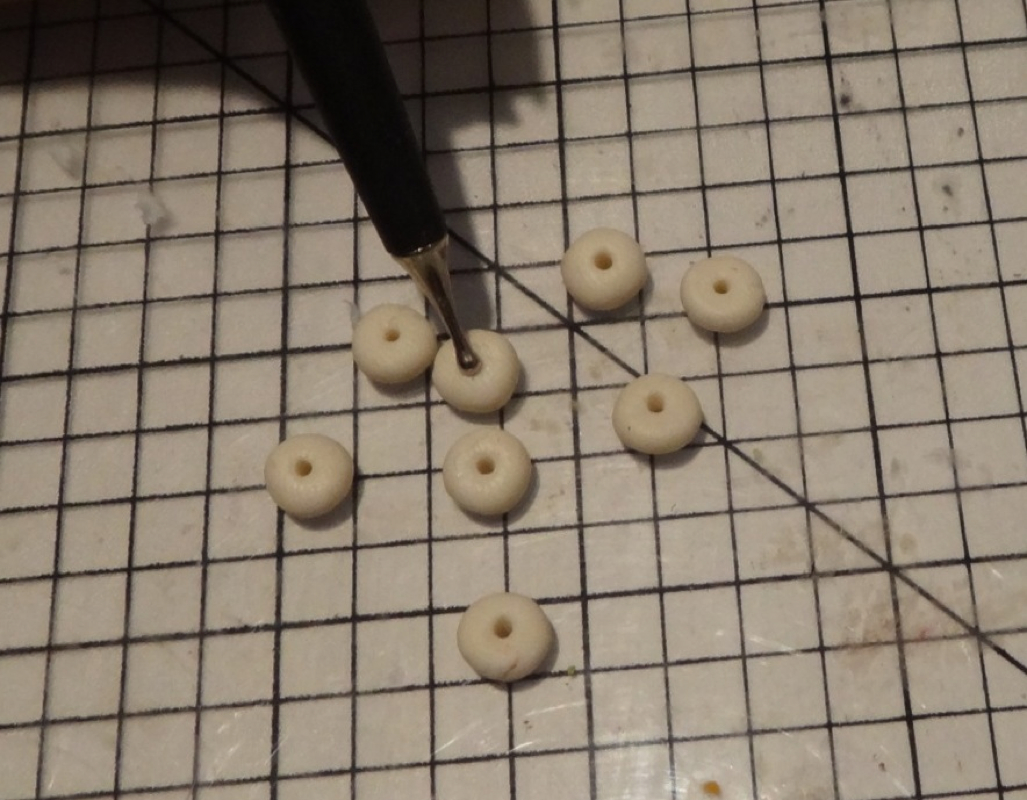 Step 4: Using the dotting tool, smooth the edges if the hole. 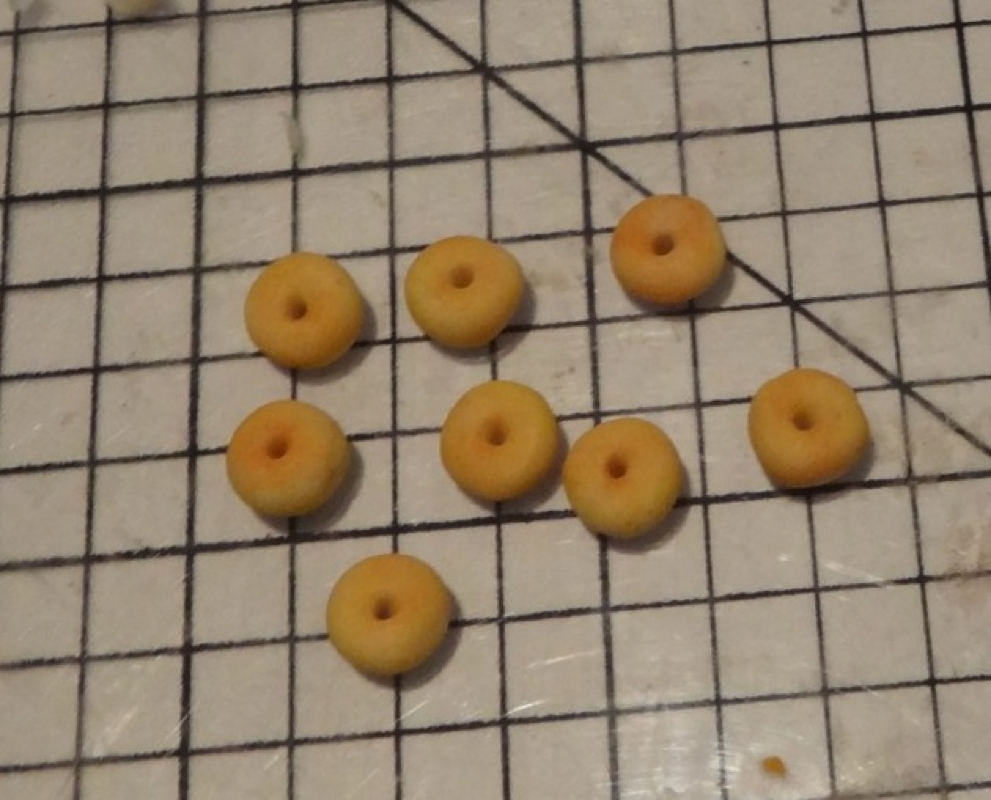 Step 5: Use a soft paintbrush to gently brush yellow-brown soft pastel all over the donut. Then, brush on some brown soft pastel on the top of the donut. And it looks like that's all the photos Weebly will let me post. I'll post the second part shortly:) You might also like...Hi! So I thought I'd just share a quick tutorial on how to make liquid Fimo 'icing' for cakes and donuts ect. It's simple to make but the mixing process takes a long time, so be patient!! 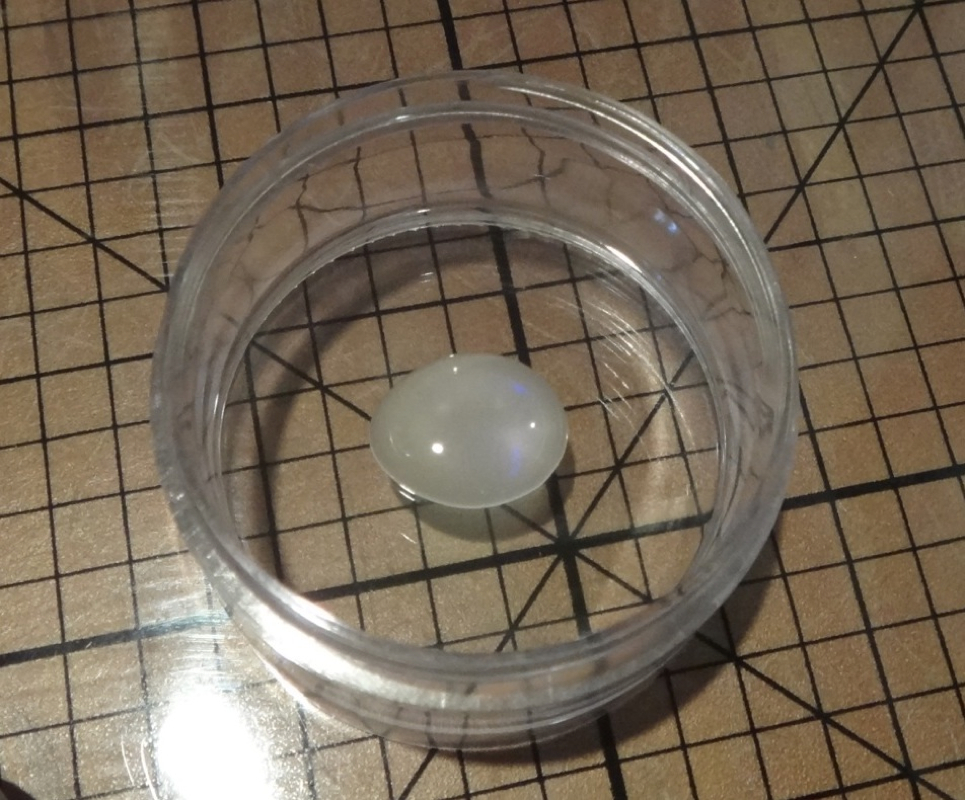 Step 1: Squirt a little blob of liquid fimo into a plastic container. 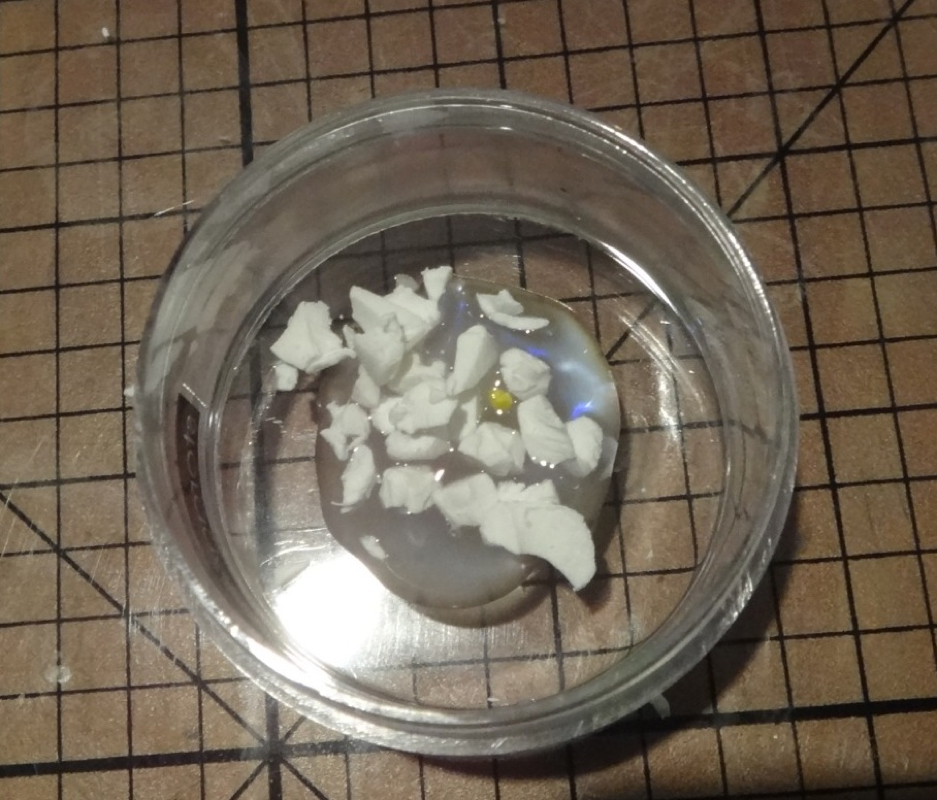 Step 2: Tear up Fimo into chunks and put them in the liquid Fimo. I wanted my 'icing' to turn out a creamy colour so I used white and a tiny bit of yellow but if, for example, you wanted to make pink icing you would use pink Fimo. 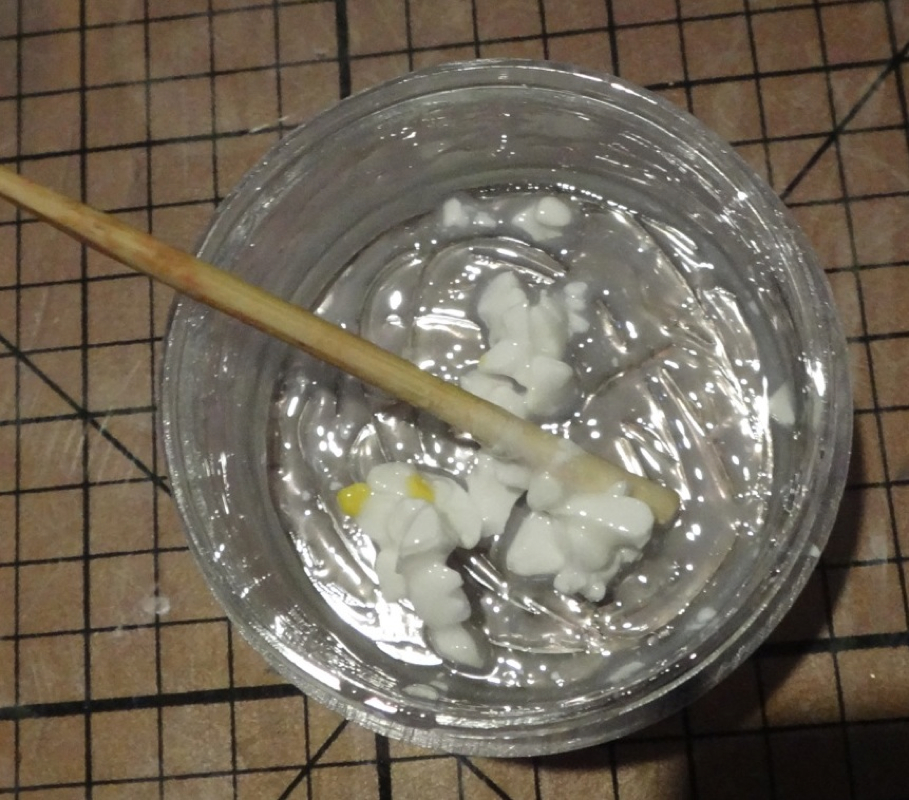 Step 3: Stir it all together with a toothpick. Stirring is a long process and it can take up to an hour but don't stop or you will end up with lumpy icing! Below are some photos of the mixing process: 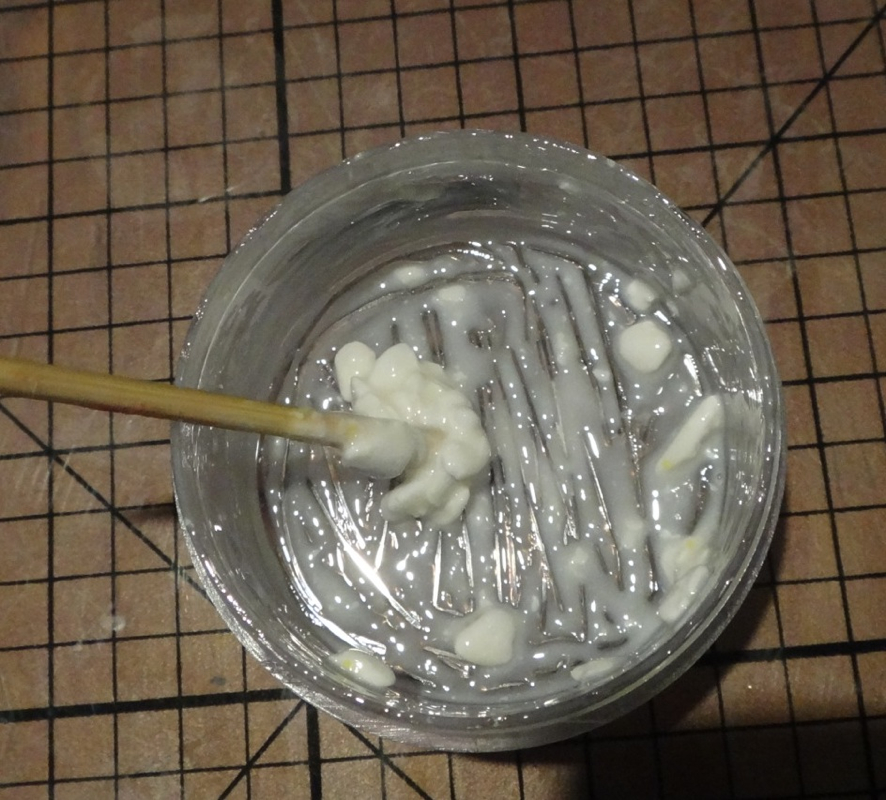 The icing is beginning to get smoother but it's still not ready yet. 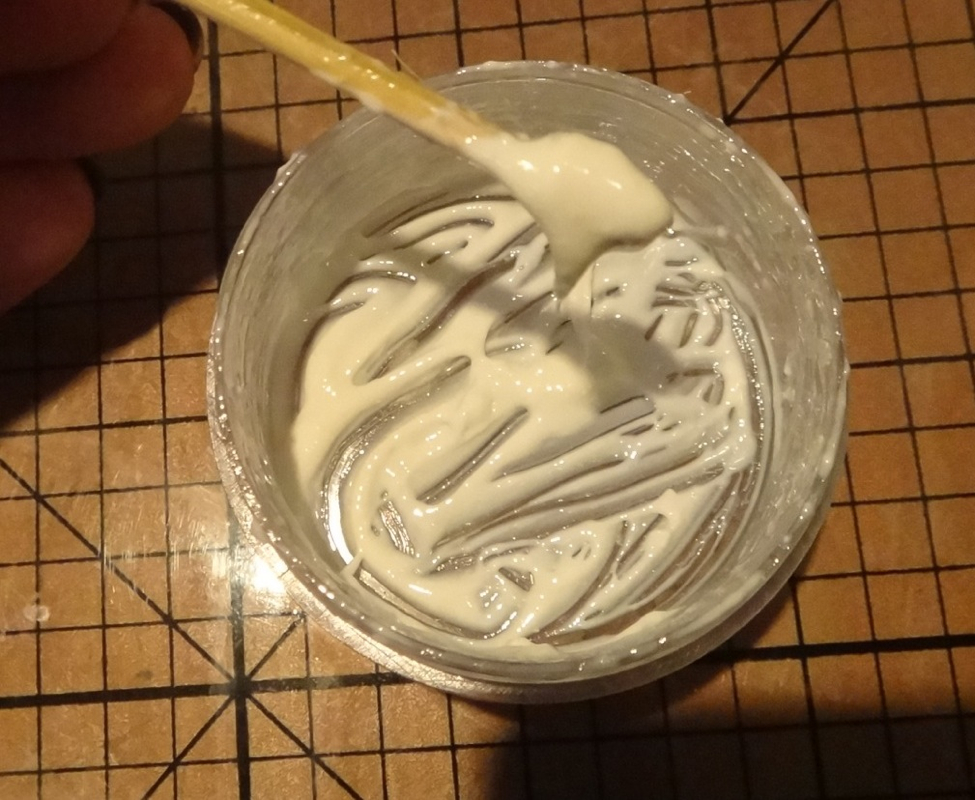 The 'icing' is a perfect consistency. You need to keep mixing unto your icing looks like this. Bye for now! You might also like... | AboutHi!! I love to make mini food out of polymer clay and this is a blog all about my creations and tutorials. :)
Latest PostsArchivesJanuary 2014 Categories |


 RSS Feed